

Quick Start Guide
Get from zero to a deployed Nuxfire stage — one page per step.
Getting a Nuxfire stage running has 6 steps, each on its own page. Follow them in order the first time; come back to any single one later as a reference.
No Git repository yet? Read Git for Your First Release before you start: it takes you from an empty repository to a
stagebranch, aproductionbranch and a safe first release, with the commands and a short AI-agent prompt for each step.
Prerequisites
Before you begin, you'll need:
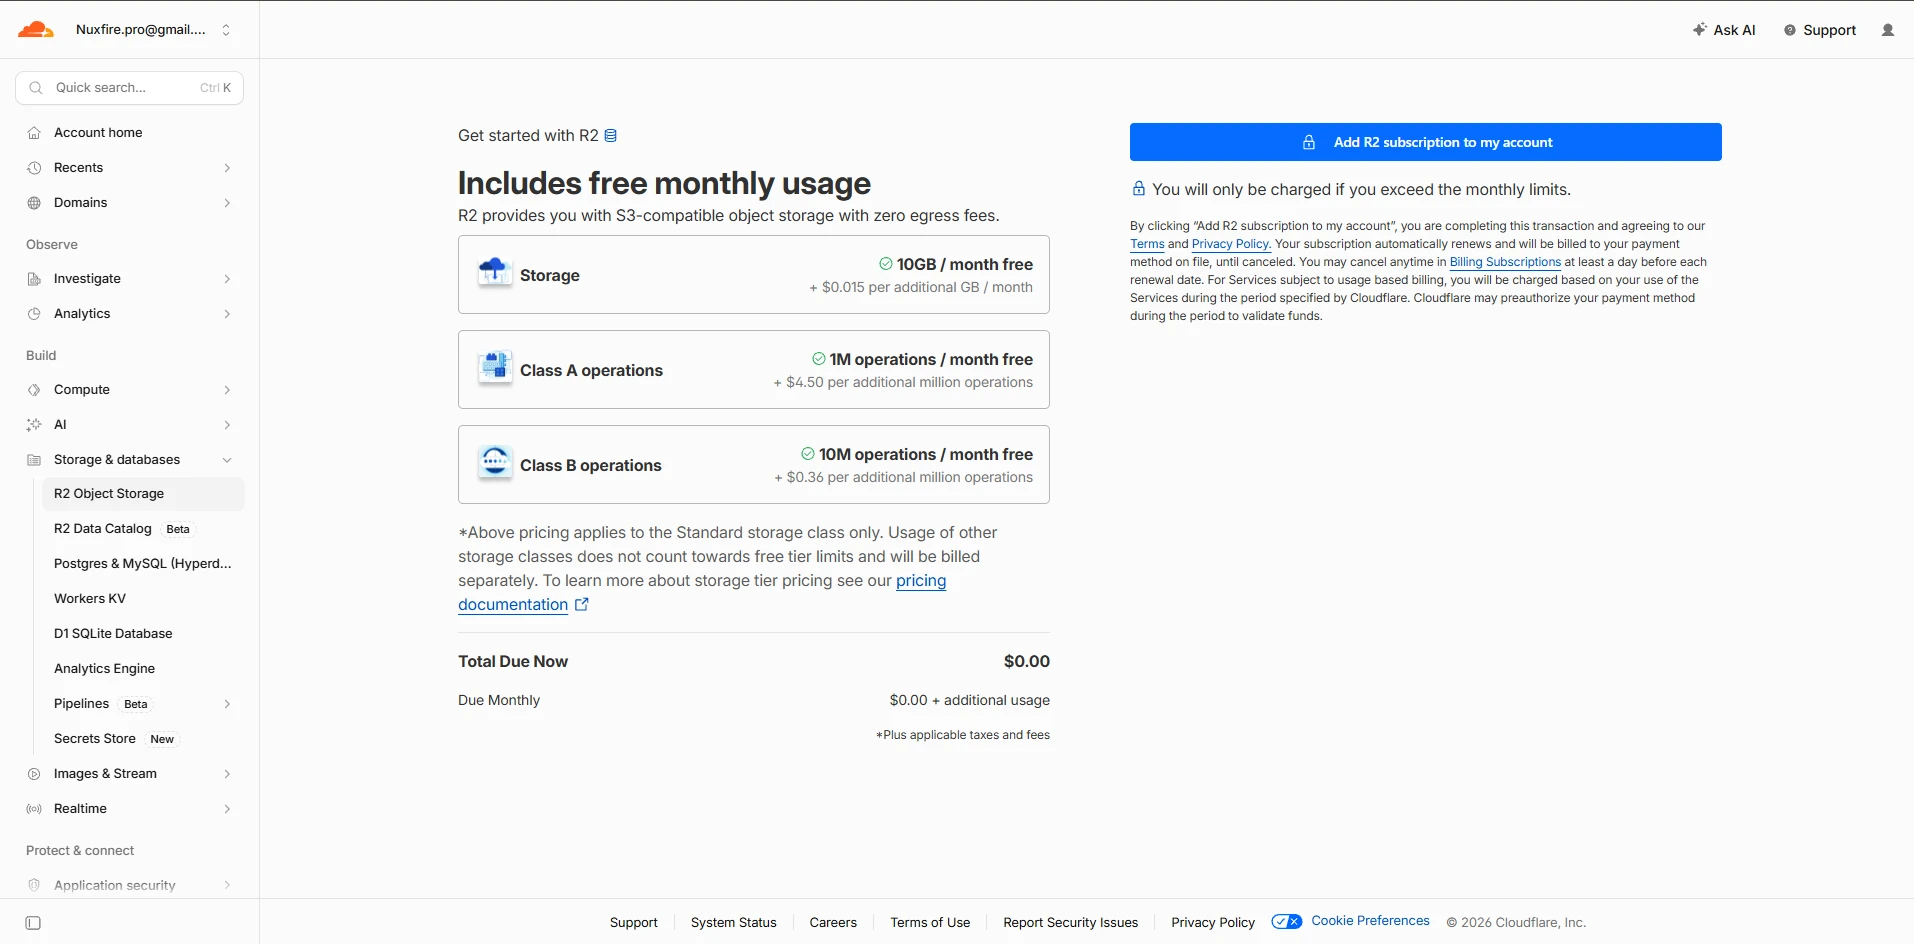
- A Cloudflare account on a paid plan — Workers Paid is required for websockets and queues. Activate it from the "Get started with R2" screen (a credit card is required even though R2 itself has a generous free tier):
- A domain added to the same Cloudflare account that will own the API token, with the Cloudflare nameservers active (you'll enter it as
BRAND_DOMAIN). - The account's
workers.devsubdomain initialized once: open Workers & Pages in the Cloudflare dashboard. Skip it and the first deploy fails partway through with error 10063 — see Cloudflare Access. - A real Postgres database — Supabase, RDS, Neon, self-hosted, or any standard Postgres. The connection is always over the native Postgres protocol, never a provider-specific SDK. It needs the
postgisextension enabled and must be reachable from the machine you deploy from, because every deploy runs the migrations from there. - Immediate access to the complete Nuxfire source code and entry into the exclusive VIP Group after purchase.
For the codebase layout, see Project Structure. For how Postgres connects to the Workers runtime, see Database.
The steps
- Installation — install Bun, clone the repo, install dependencies.
- Cloudflare Access — create the API token every
sstcommand needs. - Configuration — choose your feature flags in
config.ts. - Secrets — fill in your branding (domain, sender email, name) and credentials, then load them into SST's vault. Need to know where a specific value comes from? See Environment Variables.
- Deploy — a preflight check, then ship your stage, and later, production.
- Local Development — run the app on your machine day to day.
Once deployed, the platform-owner account is a separate, deliberate step — see Platform Admin Console.
Ready to build and launch your SaaS?
Get 100% full source code ownership, zero proprietary wrappers, and architecture engineered for millions of requests on Cloudflare.